Quick Summary
Installing aluminum fence is faster, cleaner, and produces fewer callbacks than installing wood or vinyl. A two-person crew with the right hardware can install 100 to 150 linear feet of pre-engineered aluminum panels per day on level ground. The job comes down to four things: accurate post layout, a 3 ft minimum burial depth in concrete, square panel mounting between brackets, and proper handling of slope and grade transitions. This guide covers what contractors and installers actually need on site, what slows jobs down, and how to price aluminum installs profitably.
Why Contractors Are Switching to Aluminum Panel Systems
The economics of installing aluminum fence have shifted in the last five years. Lumber prices stayed volatile, vinyl warranty claims kept rising in cold-climate markets, and homeowners started asking for finishes that hold up past year three. For installers, that means more callbacks on wood and vinyl jobs and more requests for aluminum quotes.
A pre-engineered aluminum panel system removes most of the field decisions that slow wood fence builds. Panels arrive cut to size. Posts are pre-drilled or paired with bracket hardware. Hardware kits ship with the right fasteners. Crews stop measuring, ripping, and shimming on site, and start mounting.
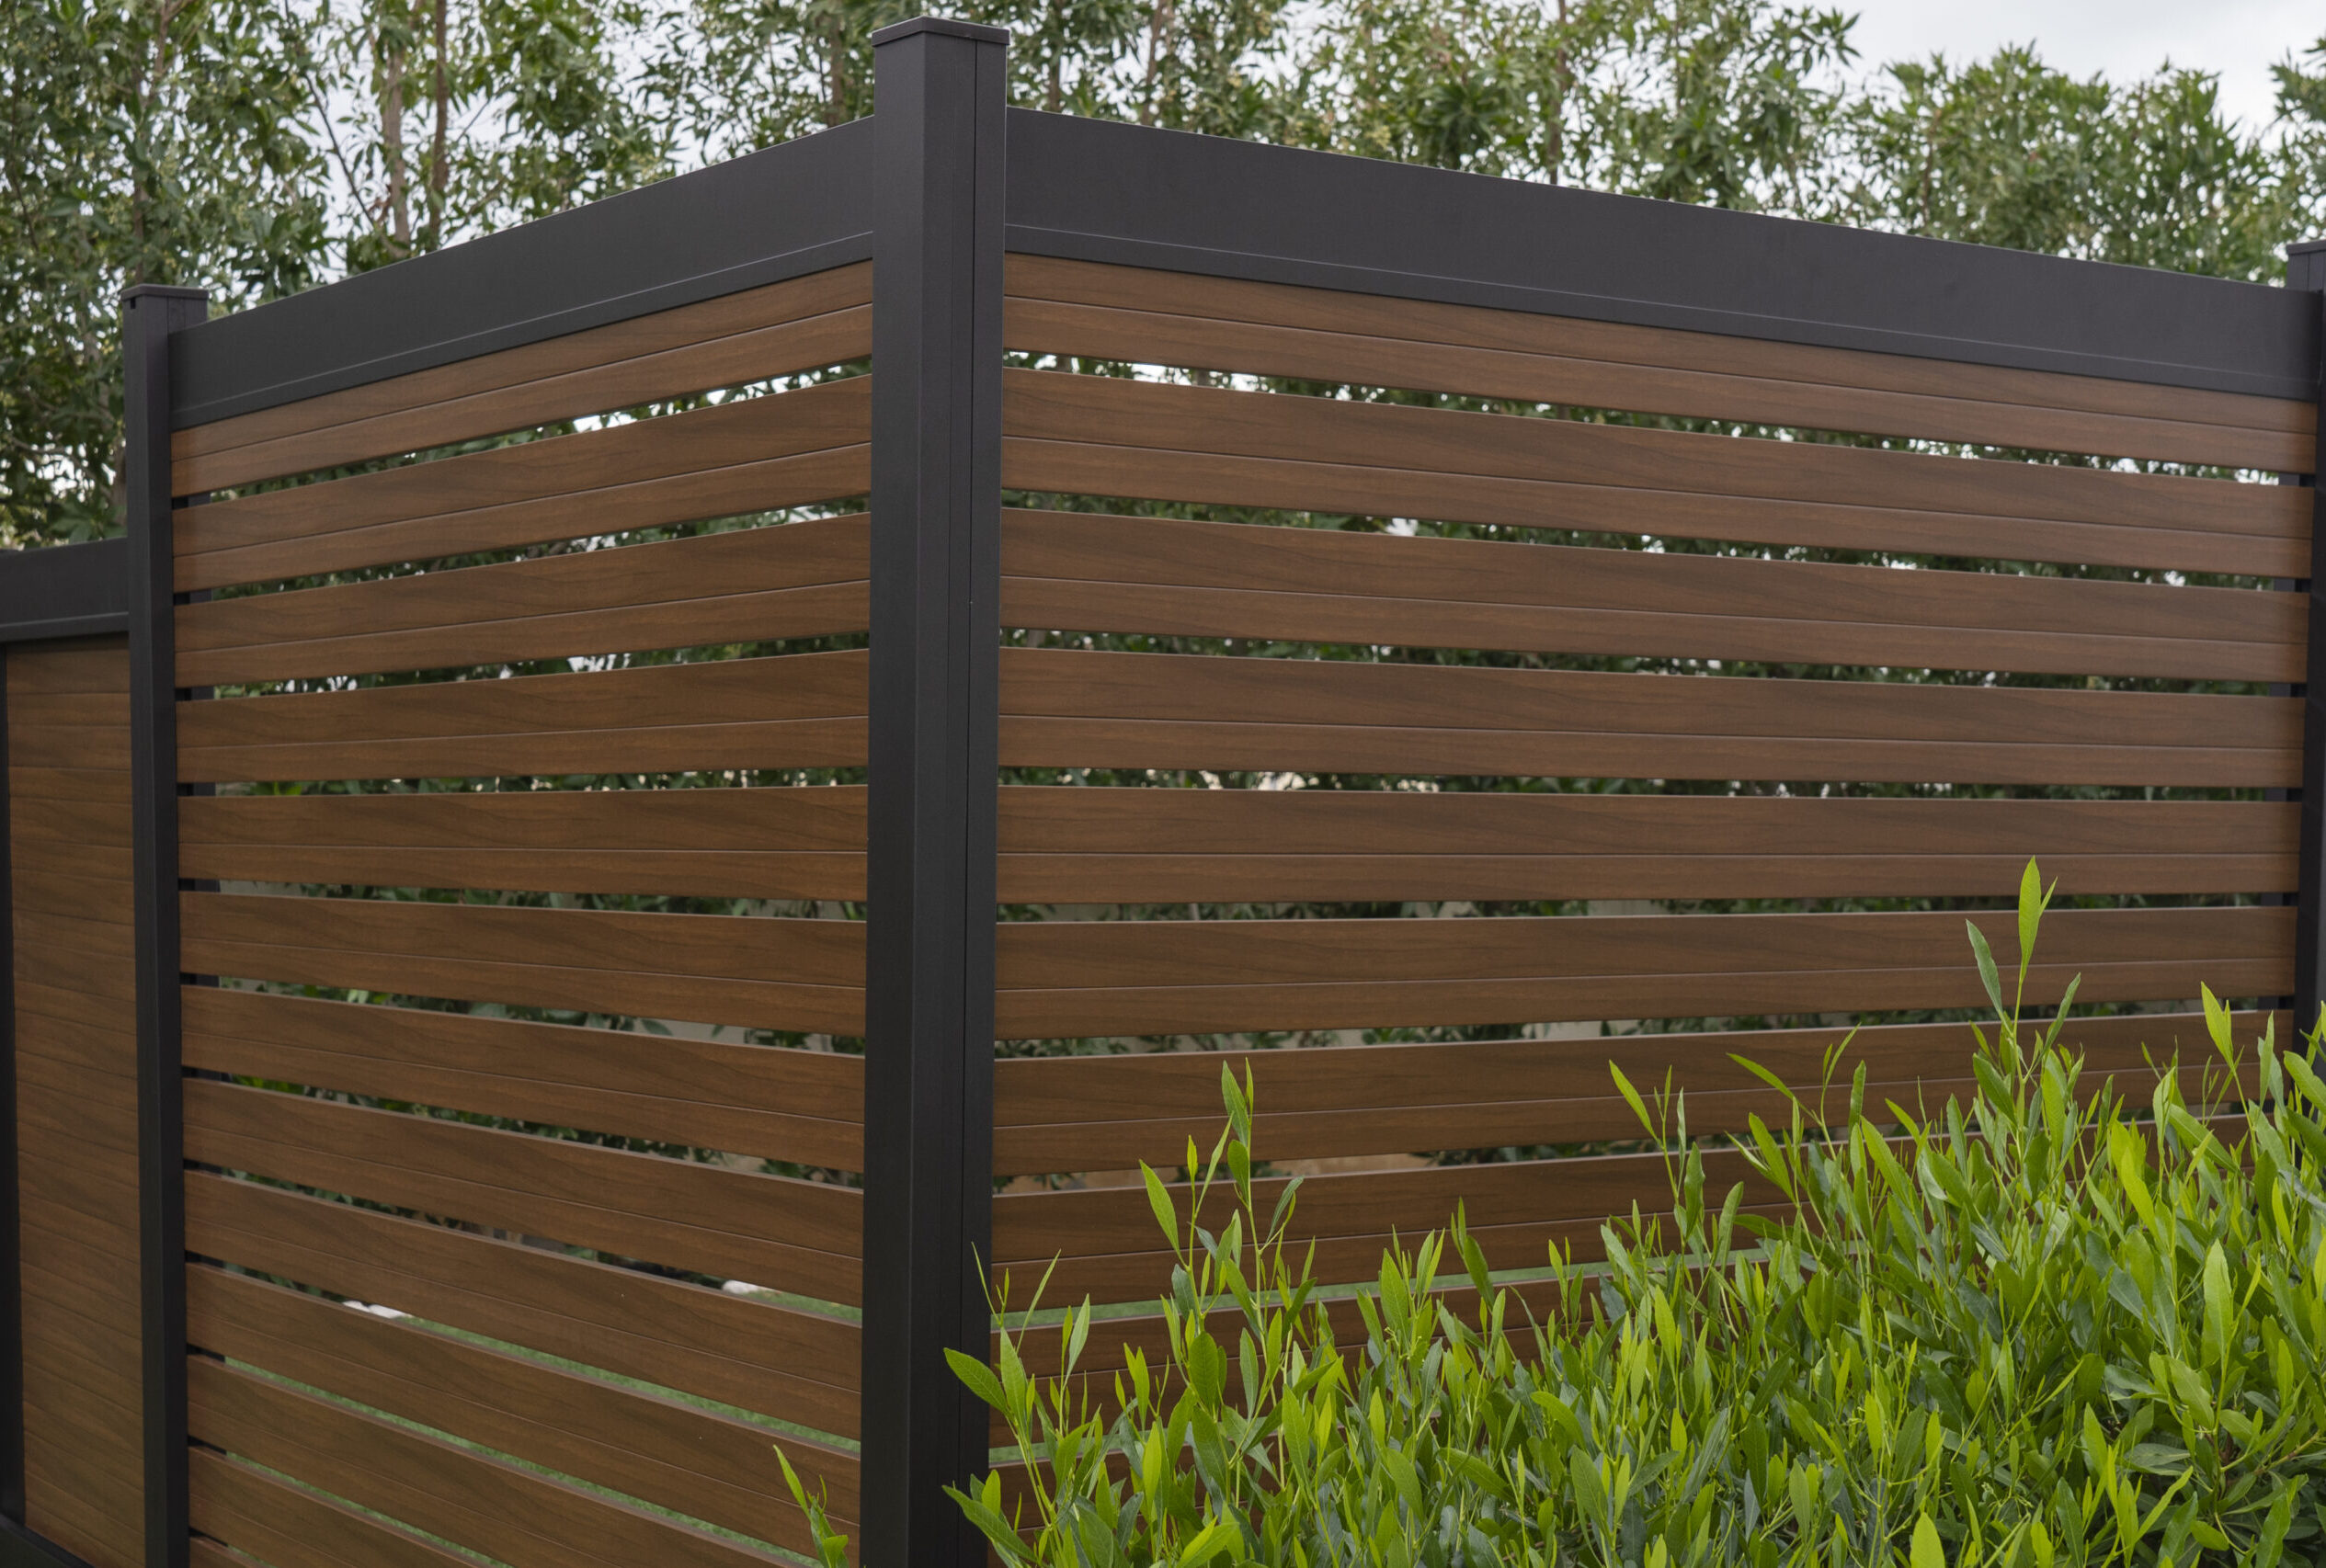
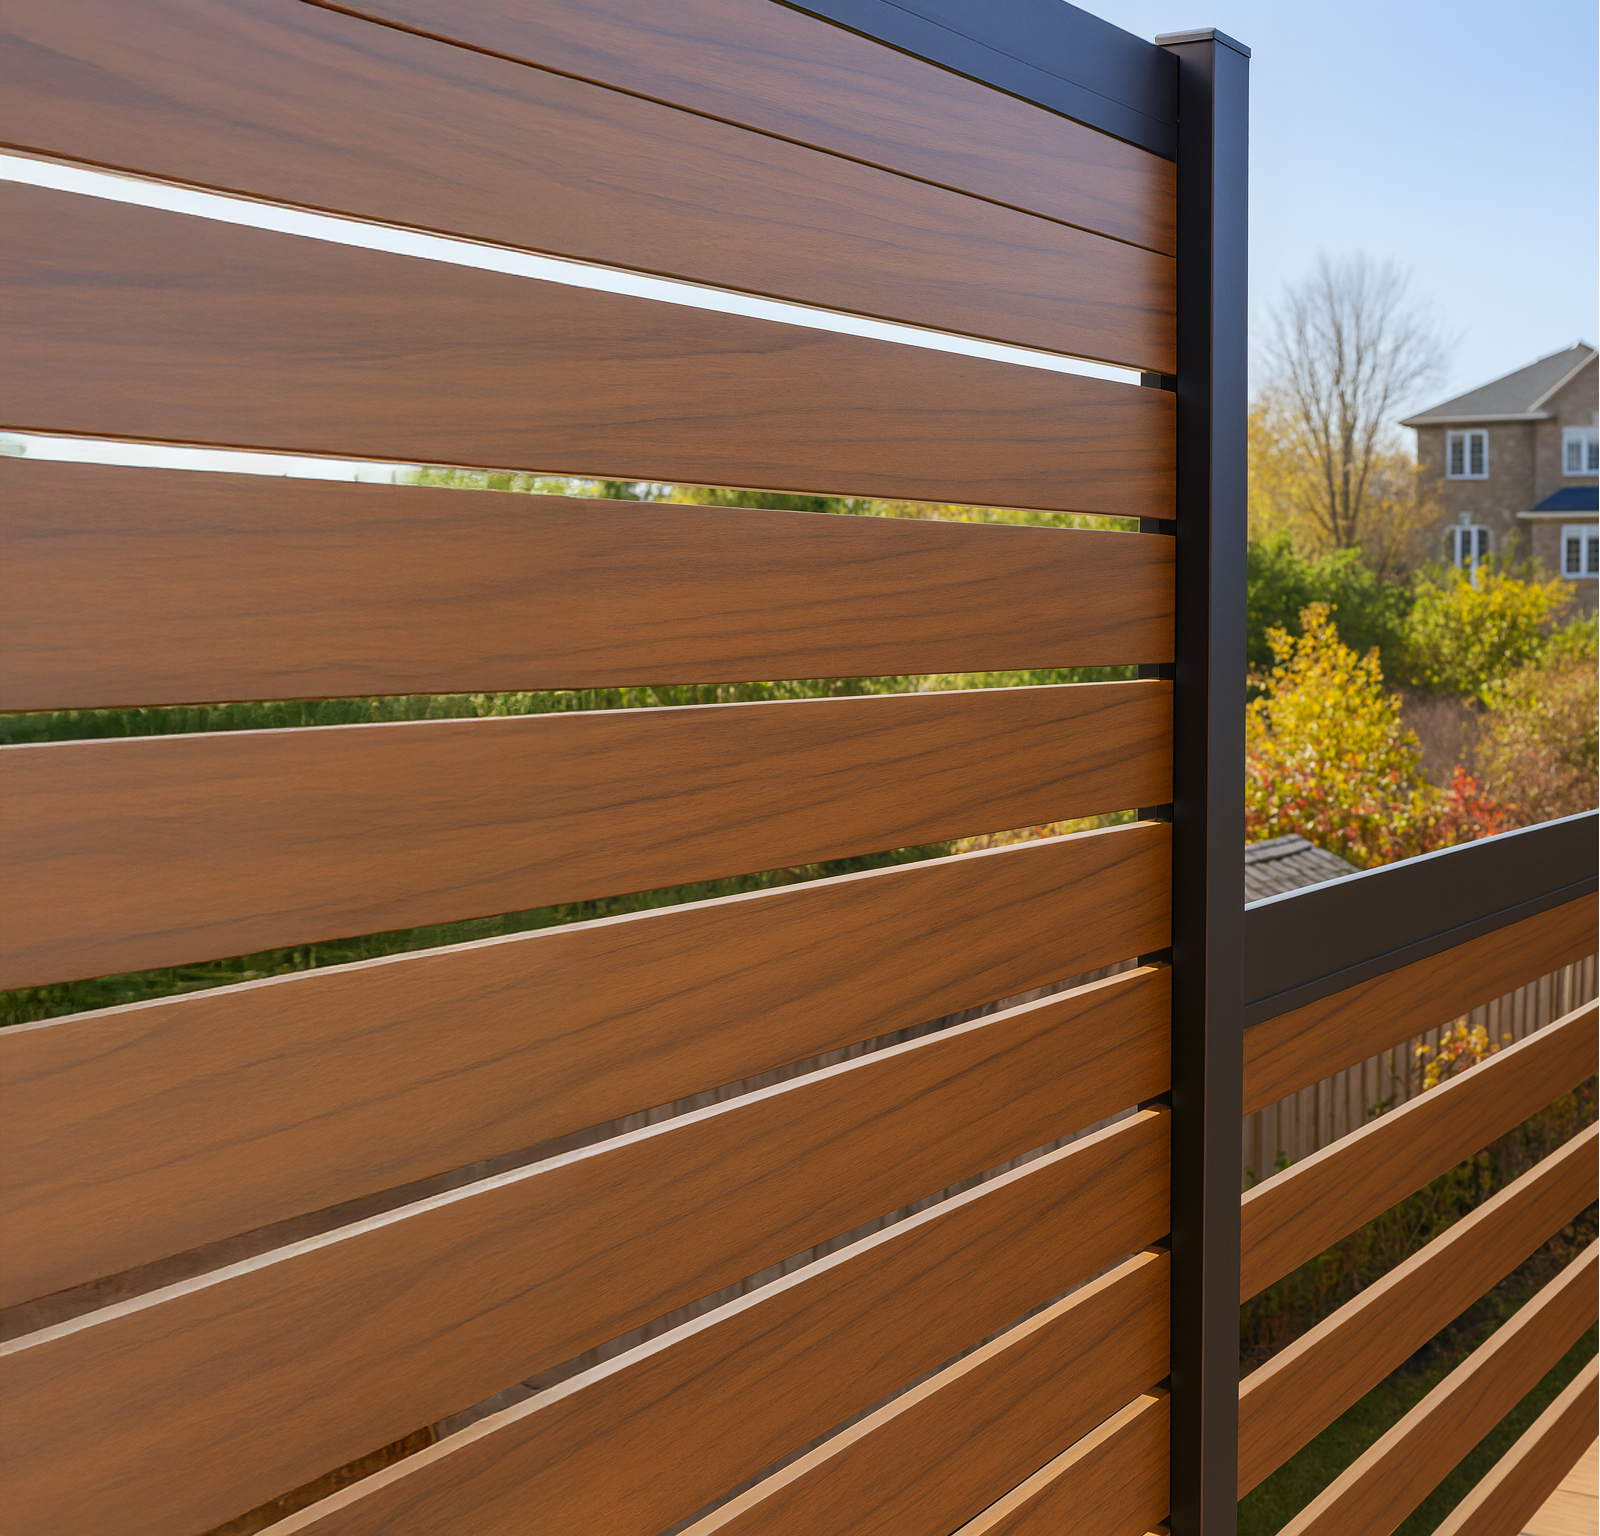
The result on the install side: faster days, lower waste, and a finished line that does not need a touch-up visit in October. PrimeAlux aluminum privacy fence panels ship with a foam-core construction that holds shape under wind load, which means fewer warranty calls about bowing or rattling panels six months after install.
Tools and Hardware You Actually Need on Site
The tool list for installing aluminum fence is shorter than most contractors expect. Most professional crews already own everything they need. The trick is staging the right consumables for the day so nobody is driving back to the shop.
Power tools
A cordless impact driver with at least 1,800 in-lb torque handles bracket fasteners and most rail screws. A miter saw with a non-ferrous blade (carbide-tipped, 80-tooth or higher) cuts aluminum cleanly when slope cuts are needed. A reciprocating saw is useful for notching panels around obstacles. A two-person auger or skid-steer auger drops post holes faster than hand digging on anything past ten posts.
Layout and leveling
String line, masonry stakes, a 4 ft level, a torpedo level, and a 100 ft tape. A laser level pays for itself by the second job. It is the cleanest way to set post tops on a long run before pouring concrete.
Safety and consumables
Cut-resistant gloves, safety glasses, hearing protection, knee pads, and a dust mask for cutting. Concrete (60 lb bags or ready-mix depending on volume), gravel for drainage, and the bracket and fastener kit shipped with the panels. Stainless or coated fasteners only, never plain steel against aluminum.
Hardware that ships with the system
PrimeAlux fence kits include the rail brackets, panel mounting hardware, and post caps sized to the panel ordered. Verify the kit on delivery before crew rolls out. A missing bracket on day one of a five-day job is a margin killer.
Step-by-Step: How a Professional Crew Installs Aluminum Fence
The framework below assumes a residential perimeter job on level-to-rolling ground. Adjust for slope, soil, and access in your bid. The objective is one full pass per task: layout fully done before any digging, all holes dug before any concrete, all posts plumb before any panels.
1. Confirm the property line and bylaws
Before the truck leaves the shop, the homeowner should have the survey or property pins located. Local bylaws set fence height, setback from property lines, and pool fence requirements. A lot of callback grief starts when a fence sits two inches inside the neighbor’s lot line. Get the call-before-you-dig clearance ticket on file.
2. Layout posts
String line the full perimeter. Mark every post location with a stake. Standard PrimeAlux panels run 6 ft and 8 ft wide, so post centers fall on those intervals. Corners, end posts, and gate posts get marked separately. Walk the layout once with the homeowner before any holes get dug. This is the cheapest moment to move a post.
3. Dig post holes
Dig to a 3 ft minimum burial depth. In northern Canadian markets where frost depth exceeds 3 ft, dig to local frost line. Hole diameter should be three times the post diameter. For a standard 2.5 inch aluminum post, that is roughly an 8 inch hole. Add 4 to 6 inches of gravel at the bottom for drainage.
4. Set posts
Mix concrete to a stiff consistency. Set each post plumb in two directions, brace temporarily, and pour concrete to within 2 inches of grade. Slope the top of the concrete away from the post for water shed. Cure time matters. Allow 24 hours minimum before hanging panels, 48 hours preferred for wind exposure. Setting all posts before any panels go up means the crew can come back to a fully cured run.
5. Mount rails and panels
Attach rail brackets to posts at the spec heights. Panels drop into the brackets and lock with the included fasteners. Square each panel before tightening. On a properly laid-out run with cured posts, a two-person crew installs panels at roughly 100 to 150 linear feet per day.
6. Caps, gates, and finish work
Snap the post caps. Hang gates last. Fence runs are forgiving, gates are not, so set the hinges and latches with the gate held in its closed position. Walk the line one final time, check every fastener, and clean up the site. Take photos of the finished job for your portfolio and the warranty file.
Aluminum Install vs Wood Install: Time, Cost, and Callbacks
The numbers below come from typical North American residential installs on level ground. Soil conditions, access, and crew experience shift the absolute numbers, but the relative differences hold.
| Factor | Aluminum Panel System | Wood Fence (Cedar) | Vinyl Fence |
|---|---|---|---|
| Linear ft per crew per day | 100 to 150 | 60 to 100 | 80 to 120 |
| Field cuts required | Minimal (slope adjustments only) | Heavy (every picket, top rail) | Moderate (rail trimming) |
| Material waste | Under 3% | 10 to 15% | 5 to 8% |
| Finish work needed | None, factory coated | Stain or paint within first season | None |
| Year-3 callback risk | Very low | High (warping, leaning, rot) | Moderate (cracking in cold) |
| End-customer install price ($/lin ft) | $80 to $120 | $45 to $80 | $60 to $95 |
The faster install pace and lower callback exposure are where contractors recover the higher material cost. A wood fence at $60 per linear foot installed sounds cheap until the third callback for a leaning post and a fourth for a warped board. Aluminum kits ship with documented ASTM-tested performance data, which also helps when bidding spec work or commercial jobs that need verifiable material claims.
Pro Tip
When you bid an aluminum install, price the job per linear foot but track your actual labor hours per day on the first three jobs. Most crews are 20 to 30 percent faster on their third aluminum install than their first. Build that learning curve into your pricing and you keep the margin instead of giving it back.
Common Installation Mistakes That Cause Callbacks
Most warranty calls on aluminum jobs trace back to four mistakes. None of them are the panel’s fault. All of them are preventable on day one.
Shallow posts. Skipping the 3 ft burial depth in a frost-prone region is the single biggest cause of leaning fences in year two. Frost heave will lift a 2 ft post out of the ground over a couple of winters. Pay the labor cost up front.
Skimping on concrete. A bag and a half per post on a residential install is the floor. Less than that and the post does not have enough weight to hold against panel wind load. Use full bags, mix to a stiff consistency, and crown the top.
Mixing fasteners. Plain steel screws against aluminum will galvanic-corrode and leave brown streaks down the panel. Use the stainless or coated fasteners that ship with the kit. Always.
Forcing panels on out-of-square posts. If a post is not plumb, do not force the panel into the bracket. Reset the post. A panel held in tension will eventually crack the bracket or distort the rail.
Handling Slope and Grade Transitions
Most residential lots have at least some grade change. Aluminum panel systems handle slope two ways, and which one is right depends on the look the homeowner wants.
Stepped install. Each panel sits level, with a step down at each post matching the grade change. Cleanest look on moderate slopes. Works well on most PrimeAlux privacy plus panels because the foam-core construction has consistent edges that step neatly.
Raked install. Panels follow the grade at an angle. Requires more field cutting and is less common with pre-engineered panel systems, but works on continuous slopes where stepping would create awkward gaps at the bottom.
For semi-privacy panels with horizontal slats, stepped installs almost always look cleaner than raked. Walk the slope with the homeowner before the bid and decide which approach gets quoted. Pricing both approaches in the same quote helps the homeowner choose without stalling the project.
Pricing the Job: What to Charge and Why
The end-customer installed price for a PrimeAlux aluminum fence runs roughly $80 to $120 per linear foot in most North American residential markets. That range covers panels, posts, hardware, concrete, layout, install labor, and basic site cleanup. It does not cover gates, automation, demolition of an existing fence, or unusual site conditions like rock excavation.
Inside that range, the variables that move the price are panel height (6 ft costs more than 4 ft), finish choice (wood-grain finishes cost more than solid colors), site access (backyard with no equipment access adds labor), and slope severity. Build line-item adders into your quote template so you are not absorbing those costs.
For contractor margin, target a 35 to 45 percent gross margin on aluminum installs. The system supports it because the install pace is fast, callbacks are rare, and homeowners who buy aluminum tend to buy other premium upgrades (matching aluminum gates, automation, lighting). Cross-sell at the quote stage.
What Sets the Aluminum System Apart for Installers
Three things matter to a crew on day one of an install: do the parts arrive complete, do they go together without rework, and does the finished line look like the brochure. The PrimeAlux system was engineered against those three failure modes.
Panels are tested to ASTM E84 Class A for fire performance (Flame Spread Index 0, Smoke Developed Index 50) and to wind loads up to 220 km/h. The 3-layer coating process holds finish across freeze-thaw cycles. Foam-core construction in the privacy plus line gives the panel its shape stability. None of those specs change the install steps, but they do change what the homeowner sees five years out, which is what determines whether you get the next referral.
For dealer or contractor sourcing, PrimeAlux ships from facilities in Canada to North American installers. Volume pricing and dealer programs are available; contact the team for current sourcing terms. The Canadian product line uses the same system as the US offering.
Frequently Asked Questions
How long does it take to install an aluminum fence?
A two-person crew installs roughly 100 to 150 linear feet of pre-engineered aluminum panels per day on level ground after posts are set. Posts need 24 to 48 hours to cure before panels can hang, so a typical 200 ft residential job is a two-day job: day one for layout, digging, and setting posts; day two for panels, gates, and finish. Slope, access, and demo of an existing fence add time.
How deep should aluminum fence posts be buried?
3 ft minimum burial depth in concrete, regardless of region. In northern markets where frost depth exceeds 3 ft, follow local frost line. Skipping this is the single most common cause of leaning fences in year two.
Can a homeowner install aluminum fence themselves?
Technically yes on small runs (under 50 ft, level ground, no gates). The system is more DIY-friendly than wood because there is less cutting and measuring. In practice, most homeowners hire it out because the post-setting concrete work and squaring the layout are where DIY jobs go sideways. Charge accordingly when a homeowner asks you to fix a botched DIY attempt.
What tools do I need that I might not already own?
Most fence contractors already own everything needed. The two purchases worth considering if you are scaling aluminum installs: a laser level for fast post-top alignment on long runs, and a non-ferrous miter blade for clean slope cuts. Both pay back inside three jobs.
How do I price an aluminum fence install for a residential customer?
Most North American residential aluminum installs price out at $80 to $120 per linear foot end-customer installed. Inside that, hold a 35 to 45 percent gross margin. Quote line items separately for gates, demo, automation, and slope adders so the base price stays competitive and the upsells are visible.
What goes wrong most often on aluminum installs?
Shallow posts, undersized concrete, mixed fastener metals, and forced panels on out-of-square posts. All four are preventable on day one. The rest of the system is forgiving. These four are not.
Can I install aluminum fence on slope?
Yes, two ways. Stepped installs (panels level, step at each post) work for most residential slope situations and look cleanest. Raked installs (panels follow grade at angle) work on continuous slopes but require field cutting. Walk the slope with the homeowner before the bid and quote one approach as primary with the other as an alternate.
Where can contractors source PrimeAlux aluminum fence panels?
PrimeAlux supplies contractors and dealers across North America from its Canadian facilities. Volume pricing and dealer programs are available. Contact the team through the PrimeAlux site to request current sourcing terms and sample materials.
Ready to Quote Your First Aluminum Install?
If you are bidding your first aluminum job and want sample panels, install documentation, or contractor pricing, reach out through the PrimeAlux site for a contractor inquiry. Existing contractors looking to add aluminum to their service offering can request the contractor knowledge base and bracket-spec sheets used on every install. The faster install pace and lower callback exposure work in your favor, but only if you bid the first three jobs at the right price and let the learning curve compound.